在 2020.11.10 官方正式发布了 .NET 5 正式版。而我花了一周的时间进行踩坑和预研,本文将告诉大家如何在自动化服务器上搭建 dotnet 5 的构建和运行环境
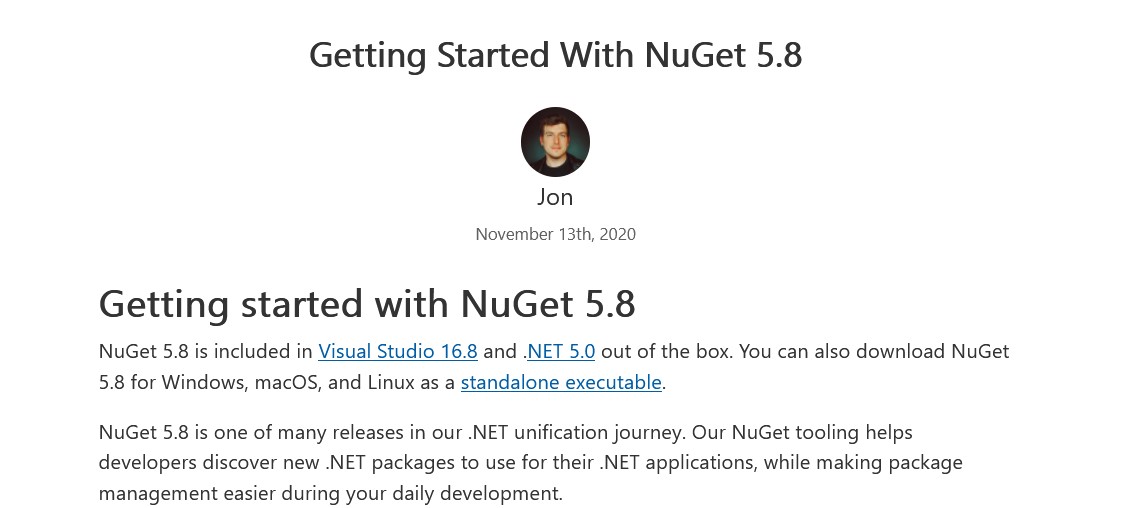
在上一篇博客里面,我因为 NuGet 版本的问题,不得在 2020.11.13 回滚了 CI 服务器。但是刚好就在那天,大法更新了 NuGet 到 5.8 的版本。按照我一个小伙伴的说法,全网首个支持 .NET 5 的 NuGet 已正式发布
这是上次的博客 刚刚我从服务器回滚了 dotnet 5 的环境
这是 NuGet 5.8 发布页面
好的,现在进入搭建服务器状态。我有多个不同类型的服务器需要搭建,包括用来跑 GitLab Runner 的虚拟机,以及用来接入运维团队 devops 的 docker 服务器(准确来说 docker 不是服务器)两个不同类型的服务器。这两个不同类型的服务器分别是 Windows 和 Linux 系统
虚拟机篇
虚拟机上是跑在 Windows 系统的,毕竟还是 Windows 更加强大,很多东西都依然需要在 Windows 下才能完成
在从官方下载全网首个支持 .NET 5 的 NuGet 版本,官方下载地址是 https://dist.nuget.org/win-x86-commandline/v5.8.0/nuget.exe 如果链接失效,请到 NuGet Gallery Downloads 找到最新版本下载
或者从我上传的 CSDN 上下载,地址是 https://download.csdn.net/download/lindexi_gd/13116888
这个版本的 NuGet 被包含在 VS 16.8 和 .NET 5 SDK 里面,但是我依然需要独立的 NuGet 执行文件来辅助构建古老的项目
将下载的独立的 NuGet 放在一个文件夹,然后将这个文件夹设置到环境变量的 Path 里面。这一步相对复杂,我也不打算多说…… 因为真不是必要的,除非你也有古老的项目需要支持
下一步就是去下载 VS 了,我使用的是专业版来进行构建,和微软的销售聊了,其实不需要使用企业版来作为构建服务器的构建工具,使用专业版就可以了。但是我团队的规模在这里,依然还是需要购买一定量的企业版,同时也禁止使用社区版
安装完成之后,在服务器上的 VS 登陆构建机器人的账号,这个账号是一个订阅账号,登录了就自动激活了许可了
理论上此时的 dotnet 5 将会被 VS 16.8 自动带入,也就是意味着啥都不用了,部署就此完成,十分简单
docker
默认官方有将 docker 放在 docker hub 上,请到 .NET - Docker Hub 拉取最新版本即可
如果和我当前的团队一样,运维小伙伴要求 docker 一定要基于别的 base image 的,才需要进行下面步骤。本来我是想拿着官方的 docker 然后安装运维小伙伴的工具软件,但是看到他的一大堆软件和安装步骤,就把我劝退了。我问,为什么不写个自动化脚本来安装。运维小伙伴说,这东西一年也没更新几次,写个脚本要好几天也不好调试……
于是我就反过来,不是在基于官方的 docker 来做,而是基于运维小伙伴的 docker 来做,在运维小伙伴的 docker 上加上 dotnet 的支持
我需要制作两个不同的 docker 一个用来做构建,一个用来作为运行时
从官方可以找到 docker file 的源代码,请看 https://github.com/dotnet/dotnet-docker 基本只需要找对系统然后抄代码就可以了
只是因为我这边的运营商很小气,很难将文件拉下来,因此就需要在外面将 dotnet 和 PowerShell 拉下来,然后将 curl 远程下载的逻辑替换为使用本地的文件
这里我使用dotnet职业技术学院的下载库制作的下载器进行下载,这是一个在 GitHub 完全开源的仓库,请看 https://github.com/dotnet-campus/dotnetCampus.FileDownloader
以下是构建服务器的 dcokerfile 内容
先基于团队的基础镜像
FROM registry.lindexidoubi.com/foo/dotnet-docker-base:debian
然后将本地文件拷贝进入
COPY dotnet-sdk-5.0.100-linux-x64.tar.gz dotnet.tar.gz
COPY PowerShell.Linux.x64.7.1.0.nupkg /
在拷贝的时候就将 dotnet-sdk-5.0.100-linux-x64.tar.gz 从命名为 dotnet.tar.gz 文件
接着添加一下国内源
# 使用国内源
RUN echo "" >> /etc/apt/sources.list \
    && echo "deb http://ftp.cn.debian.org/debian/ buster main contrib non-free" >> /etc/apt/sources.list \
    && echo "deb-src http://ftp.cn.debian.org/debian/ buster main contrib non-free" >> /etc/apt/sources.list \
    && echo "deb http://ftp.cn.debian.org/debian-security/ buster/updates main contrib non-free" >> /etc/apt/sources.list \
    && echo "deb-src http://ftp.cn.debian.org/debian-security/ buster/updates main contrib non-free" >> /etc/apt/sources.list \
    && echo "deb http://ftp.cn.debian.org/debian/ buster-updates main contrib non-free" >> /etc/apt/sources.list \
    && echo "deb-src http://ftp.cn.debian.org/debian/ buster-updates main contrib non-free" >> /etc/apt/sources.list \
    && echo "deb http://ftp.cn.debian.org/debian/ buster-backports main contrib non-free" >> /etc/apt/sources.list \
    && echo "deb-src http://ftp.cn.debian.org/debian/ buster-backports main contrib non-free" >> /etc/apt/sources.list
注:由于当前 Debian 10 (buster) 已经停止维护了,需要更换包源才能下载,更新方式请参阅 制作一个能构建 dotnet AOT 的 gitlab ruuner 的 Debian docker 镜像
然后加上必备的环境
# https://github.com/docker-library/buildpack-deps/blob/b0fc01aa5e3aed6820d8fed6f3301e0542fbeb36/buster/curl/Dockerfile
# FROM debian:buster
RUN apt-get update && apt-get install -y --no-install-recommends \
		ca-certificates \
		curl \
		netbase \
		wget \
	&& rm -rf /var/lib/apt/lists/*

RUN set -ex; \
	if ! command -v gpg > /dev/null; then \
		apt-get update; \
		apt-get install -y --no-install-recommends \
			gnupg \
			dirmngr \
		; \
		rm -rf /var/lib/apt/lists/*; \
	fi

# FROM buildpack-deps:buster-curl
# https://github.com/docker-library/buildpack-deps/blob/99a1c33fda559272e9322b02a5d778bbd04154e7/buster/scm/Dockerfile
# procps is very common in build systems, and is a reasonably small package
RUN apt-get update && apt-get install -y --no-install-recommends \
		git \
		mercurial \
		openssh-client \
		subversion \
		\
		procps \
	&& rm -rf /var/lib/apt/lists/*
下面就是从 dotnet 仓库抄配置代码
# https://github.com/dotnet/dotnet-docker/blob/0c3cedc7cc5c6679edbba3a0fdf717caeefe02bb/src/sdk/5.0/buster-slim/amd64/Dockerfile
# FROM buildpack-deps:buster-scm
ENV \
    # Unset ASPNETCORE_URLS from aspnet base image
    ASPNETCORE_URLS= \
    DOTNET_SDK_VERSION=5.0.100 \
    # Enable correct mode for dotnet watch (only mode supported in a container)
    DOTNET_USE_POLLING_FILE_WATCHER=true \
    # Skip extraction of XML docs - generally not useful within an image/container - helps performance
    NUGET_XMLDOC_MODE=skip \
    # PowerShell telemetry for docker image usage
    POWERSHELL_DISTRIBUTION_CHANNEL=PSDocker-DotnetSDK-Debian-10

# Install .NET CLI dependencies
RUN apt-get update \
    && apt-get install -y --no-install-recommends \
        libc6 \
        libgcc1 \
        libgssapi-krb5-2 \
        libicu63 \
        libssl1.1 \
        libstdc++6 \
        zlib1g \
    && rm -rf /var/lib/apt/lists/*
将原本 dotnet 仓库里面的通过 curl 下载的逻辑替换为使用本地文件,使用本地文件也就是不需要下载就可以了,因为文件在第一步就从本地复制,请看下面
# Install .NET SDK
# 不从 https://dotnetcli.azureedge.net 下载,从本地复制
RUN dotnet_sdk_version=5.0.100 \
#    && curl -SL --output dotnet.tar.gz https://dotnetcli.azureedge.net/dotnet/Sdk/$DOTNET_SDK_VERSION/dotnet-sdk-$DOTNET_SDK_VERSION-linux-x64.tar.gz \
    && dotnet_sha512='bec37bfb327c45cc01fd843ef93b22b556f753b04724bba501622df124e7e144c303a4d7e931b5dbadbd4f7b39e5adb8f601cb6293e317ad46d8fe7d52aa9a09' \
    && echo "$dotnet_sha512 dotnet.tar.gz" | sha512sum -c - \
    && mkdir -p /usr/share/dotnet \
    && tar -ozxf dotnet.tar.gz -C /usr/share/dotnet \
    && rm dotnet.tar.gz \
    && ln -s /usr/share/dotnet/dotnet /usr/bin/dotnet \
    # Trigger first run experience by running arbitrary cmd
    && dotnet help

# 不从 https://pwshtool.blob.core.windows.net 下载,从本地复制
# Install PowerShell global tool
RUN powershell_version=7.1.0 \
#    && curl -SL --output PowerShell.Linux.x64.$powershell_version.nupkg https://pwshtool.blob.core.windows.net/tool/$powershell_version/PowerShell.Linux.x64.$powershell_version.nupkg \
#   && powershell_sha512='59abcc11bd43fc8c1938a1854447c762092f03b5e2c6c354a82559eed6852e3920c5543c085fbe6fbe98871f96cd7409bb76b1537d3d8dee4e7432d578ec7603' \
#   && echo "$powershell_sha512  PowerShell.Linux.x64.$powershell_version.nupkg" | sha512sum -c - \
    && mkdir -p /usr/share/powershell \
    && dotnet tool install --add-source / --tool-path /usr/share/powershell --version $powershell_version PowerShell.Linux.x64 \
    && dotnet nuget locals all --clear \
    && rm /PowerShell.Linux.x64.$powershell_version.nupkg \
    && ln -s /usr/share/powershell/pwsh /usr/bin/pwsh \
    && chmod 755 /usr/share/powershell/pwsh \
    # To reduce image size, remove the copy nupkg that nuget keeps.
    && find /usr/share/powershell -print | grep -i '.*[.]nupkg$' | xargs rm
这样就完成了构建服务器的 dcokerfile 了,下一步只是需要用这个文件构建 docker image 就可以了
而运行时服务器的搭建也差不多,只是因为运行时的 dotnet 很小,不需要在外面下载,因此可以更愉快的抄代码
FROM registry.lindexidoubi.com/foo/dotnet-docker-base:debian-security
USER root
# https://github.com/dotnet/dotnet-docker/blob/master/3.1/runtime-deps/buster-slim/amd64/Dockerfile
RUN yum update -y
RUN yum install -y  \
        ca-certificates \
        \
# .NET Core dependencies
        libc6 \
        libgcc1 \
        libgssapi-krb5-2 \
        libicu63 \
        libssl1.1 \
        libstdc++6 \
        zlib1g \
        # GDI
        libc6-dev \
        libgdiplus \
    && rm -rf /var/lib/apt/lists/*

# Configure web servers to bind to port 8080 when present
# 无管理员权限运行 80 提示 System.Net.Sockets.SocketException (13): Permission denied https://github.com/dotnet/aspnetcore/issues/4699
ENV ASPNETCORE_URLS=http://+:8080 \
    # Enable detection of running in a container
    DOTNET_RUNNING_IN_CONTAINER=true

RUN rpm -Uvh https://packages.microsoft.com/config/centos/7/packages-microsoft-prod.rpm && \
    yum install -y aspnetcore-runtime-5.0

USER cloud
我比官方更多的逻辑是额外安装了 GDI+ 的库
可以看到搭建 docker 的步骤比虚拟机的步骤多太多了,但这是因为我不能拉官方的 docker 来用而已,如果能拉官方的,那就只需要两句话就完成了
我在做 docker 服务器的时候,因为本地磁盘空间不足,翻车了,请看 dotnet 制作 docker 提示 Insufficient space in download directory 磁盘空间不足
本文会经常更新,请阅读原文: https://blog.lindexi.com/post/%E5%A6%82%E4%BD%95%E7%BB%99-CI-CD-%E6%9C%8D%E5%8A%A1%E5%99%A8%E6%90%AD%E5%BB%BA%E4%B8%8A-.NET-5-%E6%9E%84%E5%BB%BA%E5%92%8C%E8%BF%90%E8%A1%8C%E7%8E%AF%E5%A2%83.html ,以避免陈旧错误知识的误导,同时有更好的阅读体验。
如果你想持续阅读我的最新博客,请点击 RSS 订阅,推荐使用RSS Stalker订阅博客,或者收藏我的博客导航
 本作品采用
知识共享署名-非商业性使用-相同方式共享 4.0 国际许可协议
进行许可。欢迎转载、使用、重新发布,但务必保留文章署名林德熙(包含链接:
https://blog.lindexi.com
),不得用于商业目的,基于本文修改后的作品务必以相同的许可发布。如有任何疑问,请
与我联系
。
本作品采用
知识共享署名-非商业性使用-相同方式共享 4.0 国际许可协议
进行许可。欢迎转载、使用、重新发布,但务必保留文章署名林德熙(包含链接:
https://blog.lindexi.com
),不得用于商业目的,基于本文修改后的作品务必以相同的许可发布。如有任何疑问,请
与我联系
。
无盈利,不卖课,做纯粹的技术博客
以下是广告时间
推荐关注 Edi.Wang 的公众号

欢迎进入 Eleven 老师组建的 .NET 社区

以上广告全是友情推广,无盈利